This post about smartphone photography tips is in sponsorship with FTCU. Discover their blog to invest not just your money but invest in your lifestyle too!
Contrary to popular belief, you don’t need a fancy camera to take great photos!
Being Pacific Northwest travel photographers for nearly 10 years now, we get this question all the time: “What camera do you recommend for shooting landscape photography?”
Our answer? Most of the time, we actually recommend a smartphone! It’s a tool that’s much more accessible to a wider audience, and it has a lot more helpful features than you think!
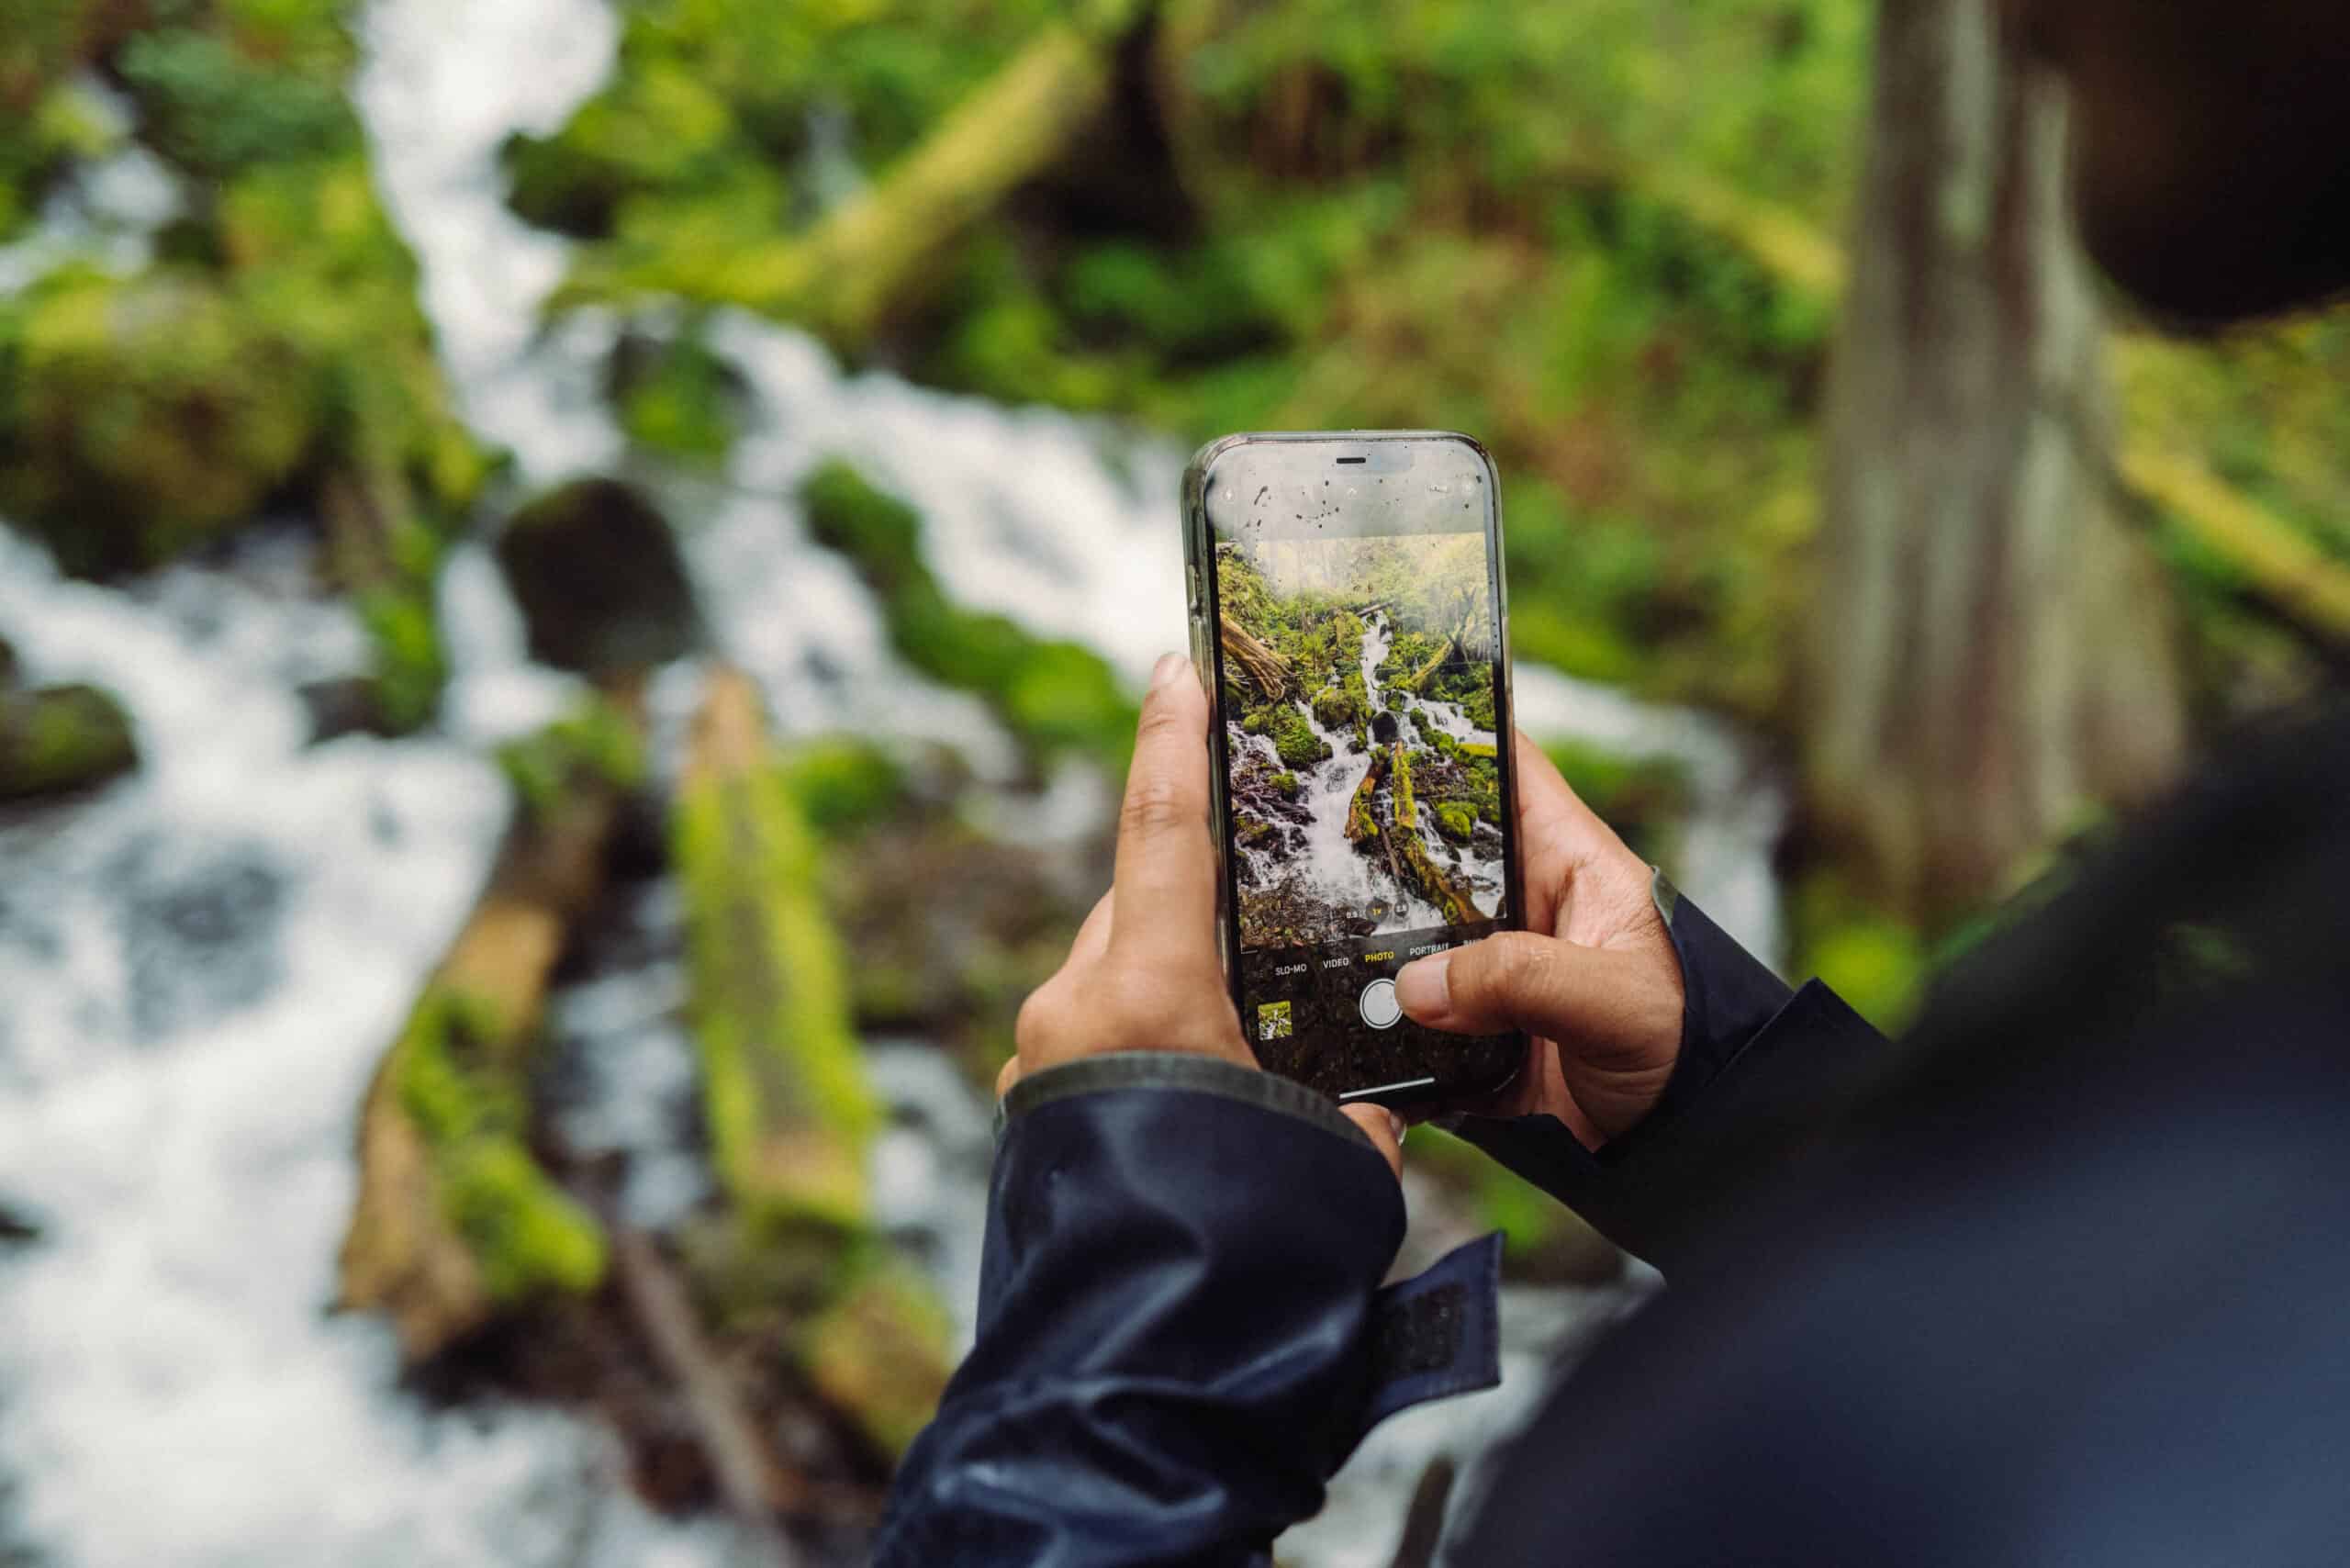
In this post, we’ll be covering smartphone landscape photography tips and tricks we use every time we go out shooting.

Not only are smartphones more accessible than digital cameras, but with today’s technology, smartphones are improving at such an amazing rate.
In certain situations, smartphones may actually be the best possible tool for the job!
In this post, we’re sharing the advantages of using a smartphone for landscape photography, and tips on how to take landscape photos on your phone.
We’ll be sharing tips on how to prepare your smartphone, what to consider during a shoot, and finally how to edit your images with some of our favorite apps.
Let’s get started!
- Advantages of Using a Smartphone For Landscape Photography
- How To Choose A Smartphone For Landscape Photography
- 31 Genius Tips on How To Take Landscape Photos With Your Smartphone
- Steps To Take BEFORE You Start Shooting Smartphone Landscape Photography
- Composing and Taking Smartphone Landscape Photography
- How To Edit Landscape Photos On Your Smartphone
- FAQs About Smartphone Landscape Photography
- MORE PHOTOGRAPHY POSTS
Advantages of Using a Smartphone For Landscape Photography
So, what are the advantages of using a smartphone for photography? Here are just some of the reasons we love taking pictures with our phones:
Accessibility: Most of the time, pulling out our phone camera just requires reaching into our pockets. We have our phones on us all the time, might as well put that to good use!
Multiple Tools at Hand: Today, there are apps that can help you measure light, determine sunrise/sunset times, and even shoot in RAW format. All of these tools are in one place!
Possible Endless Storage Capabilities: Have you ever been taking photos and ran out of space on a camera’s memory card? If you upload your smartphone images to a cloud system, you could have endless storage instead.

How To Choose A Smartphone For Landscape Photography
If you are exclusively looking to shoot smartphone landscape photography (and ditch the DSLR/mirrorless camera), what phone should you choose?
If you’re in the market for a new phone, here are some phone camera features you should consider:
Ability To Shoot in RAW: A RAW file is uncompressed and unprocessed image data. The high amount of image information makes it easy to edit, compress, crop, or convert the image to different formats later.
Megapixels: Similar to RAW files, the higher megapixels your phone can capture, the more information you can use within that image.
Battery Life: Choose a phone that provides a long battery life. It also might be worth looking into features that can turn off background apps or have a battery-saving toggle to make it last even longer.
Phone Memory and Storage Capacity: No one likes seeing the message “storage full.” If you like to photograph fast movement or simply take a lot of photos in succession, make sure you consider your phone’s memory storage capacity!

Best Camera Phone For Landscape Photography
There is actually more than one, and it’s not as simple as ranking them from best to worst.
Instead, here is a comparison table of some of the best smartphones for landscape photography so you can choose which features are important to you:
| SMARTPHONE | iPhone 11 | iPhone 12 Pro Max | iPhone 13 Pro Max | Google Pixel 5 | Xiaomi Mi 11 |
| MEGAPIXELS | 12 MP | 12 MP Wide / 12 MP Ultrawide | 12 MP Tele, Ultra, Wide | 12.2 MP | 27 MP |
| BATTERY | 3,110 mAh | 2,815 mAh | 3,095 mAh | 4,080 mAh | 4,600 mAh |
| DISPLAY DIMENSIONS | 6.1 inch LED | 6.1 inch OLED | 6.7 inch OLED | 6 inches | 6.8 Inches AMOLED |
| # OF CAMERAS | 2 | 3 | 3 | 2 | 2 |
31 Genius Tips on How To Take Landscape Photos With Your Smartphone

Steps To Take BEFORE You Start Shooting Smartphone Landscape Photography

1. Consider equipment for incredible landscape smartphone photos
You can easily capture smartphone landscape photography with just your phone.
However, accessories can enhance your experience, especially if you are trying to achieve a very specific shot. Here are some smartphone photography accessories to consider:
- Phone Tripod: You can buy a phone adaptor for your existing tripod, or buy a rugged phone mount that packs in a backpack.
- Remote: If you like to capture self-portraits, a Bluetooth camera remote can be a helpful tool!
- Fisheye lens (or any other accessory lens): To achieve a specific look, consider getting a lens for telephoto, macro, portrait, or travel photography.

2. How To Find The Best Locations For Smartphone Photography
3. Use a Tripod or Stabilizer
For long exposures or times when capturing images with low light, it’s helpful to use a tripod.
Use your existing tripod, and get this smartphone tripod adapter.
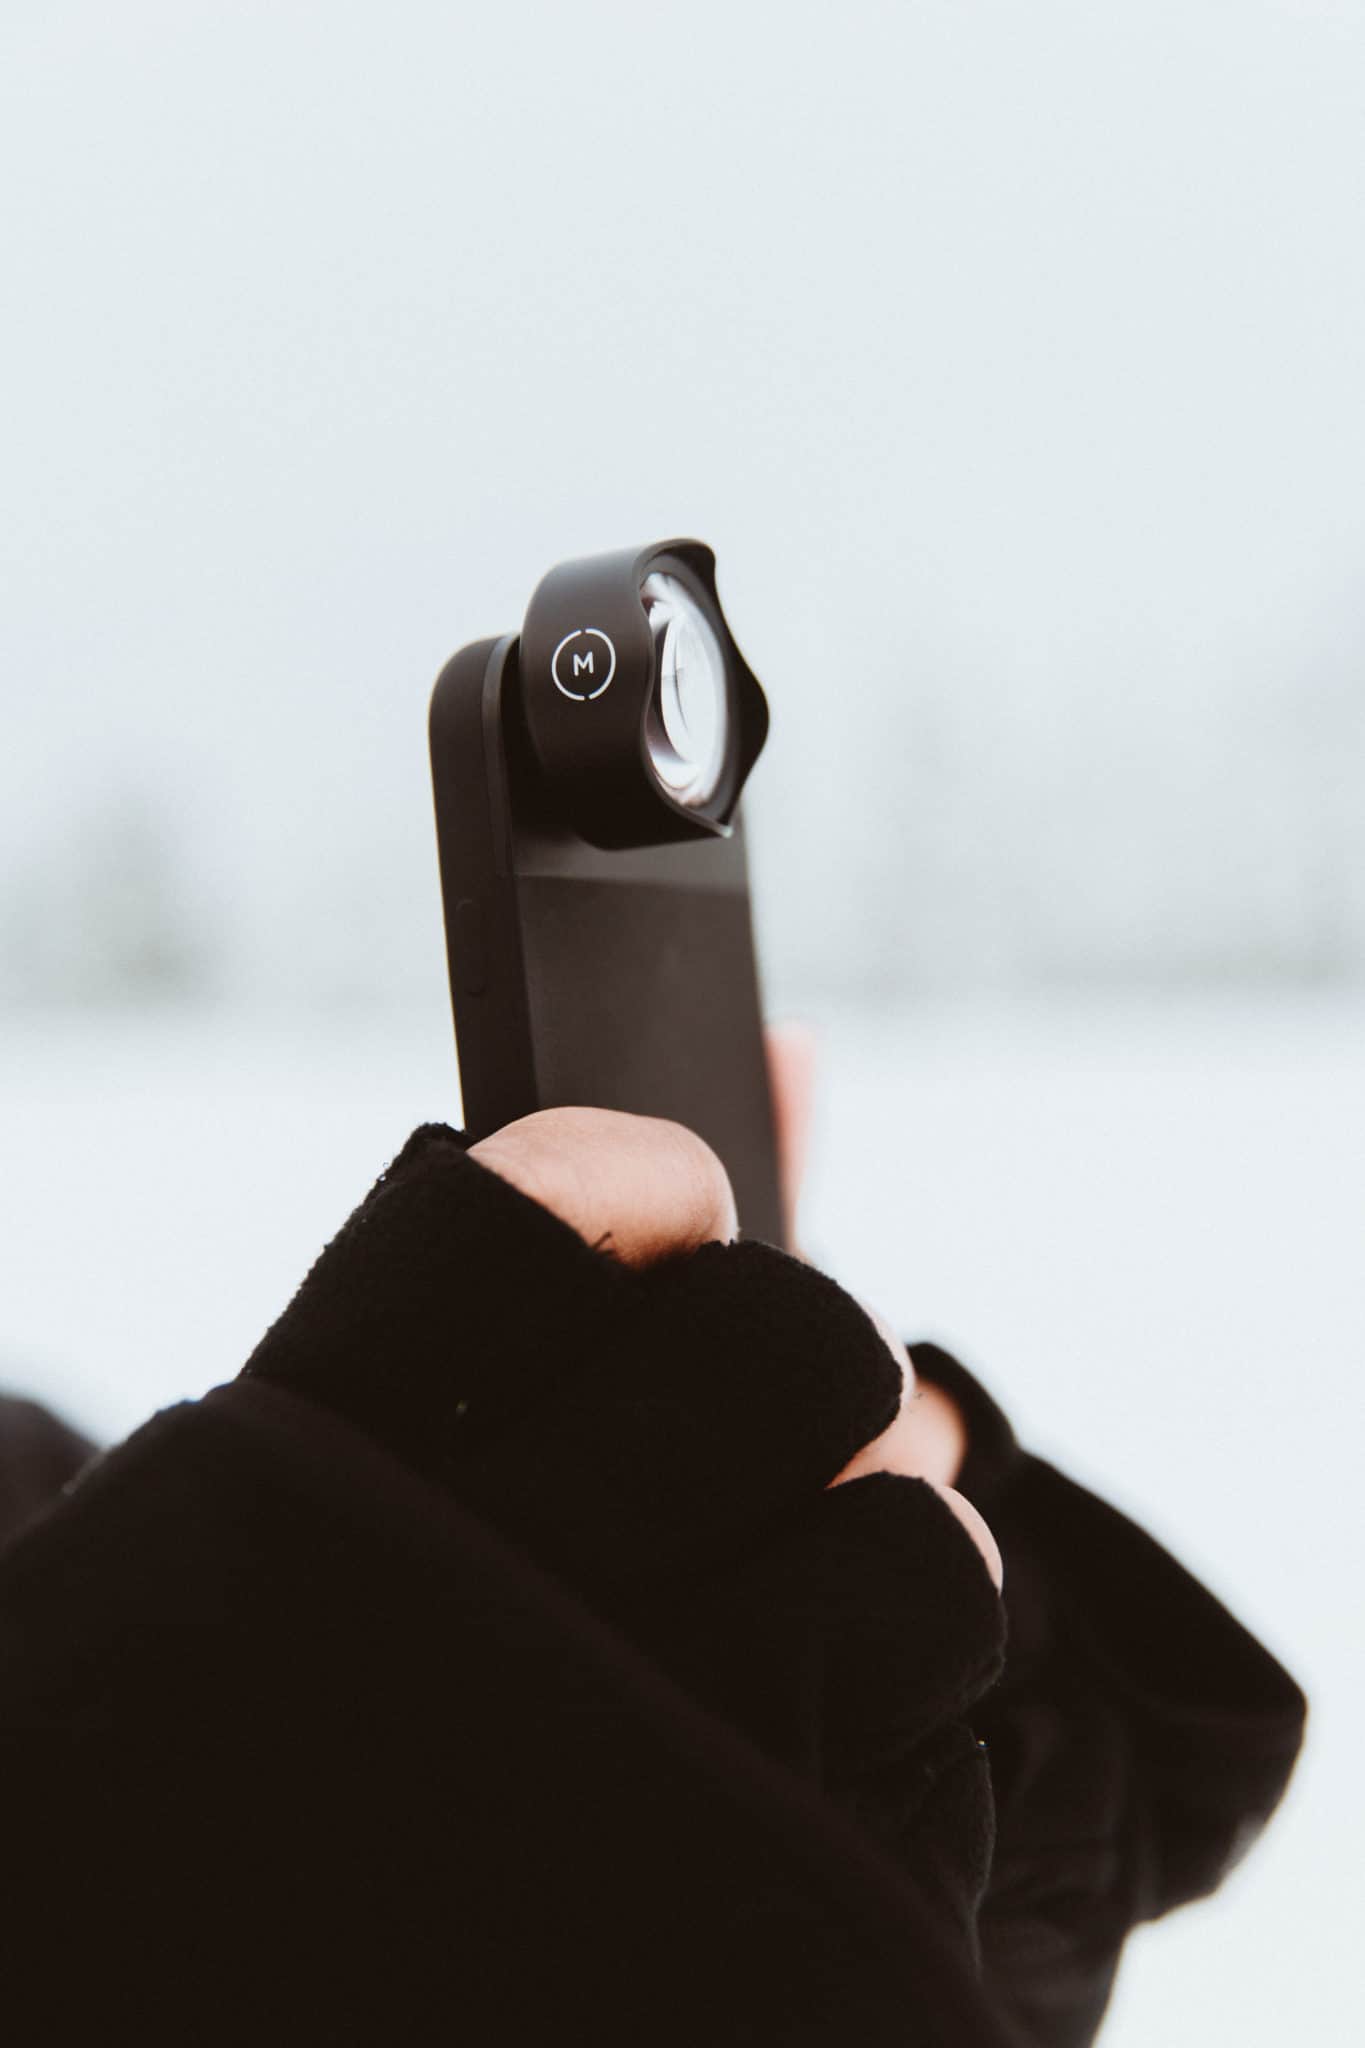
4. Add an Accessory Lens
Today, there are accessories that can enhance the lens of your smartphone to capture images in a specific way.
Moment makes some of our favorite accessory lenses for smartphones. They sell telephoto lenses, fisheye lenses, and portrait lenses to enhance your smartphone photography experience!

5. Watch The Weather
Checking the weather is an easy task to do, but often commonly forgotten!
The morning before you venture out to take landscape photos with your smartphone, check the weather of your location. It can help you decide what to wear, and how to prepare for the right lighting conditions.
6. Add Grid Lines To Your Phone
Adding gridlines to your phone can help you with composing your image.
It can help you follow the classic Rule of Thirds, which is a way to frame your subject in a way that’s pleasing to the viewer. To add grid lines to our iPhone, follow these steps:
- Tap “Settings”
- Scroll down and tap on “Camera”
- Find “Grid” and toggle it on.
Now you know how to add grid lines to your smartphone!
7. Clean Your Lens
Another easy (but commonly forgotten) smartphone camera tip: cleaning your lens!
When taking landscape photos with your smartphone, it’s such a small thing that can make a huge difference for clear and crisp images.

8. Get in the Right Mindset: Before: You MAKE photos, you don’t TAKE them (Ansel Adams)
As we teach you how to take photos with your smartphone, it’s important to get in the right mindset!
In the famous words of the photographer Ansel Adams, “You don’t take a photograph, you MAKE it” he means to say that your perspective matters.
Coming in with a mindset of creating a story in your own unique way, will allow your creativity to flow more freely. Give it a try!

9. Set Up Your Smartphone Camera Settings
There are several ways to customize your phone camera’s settings to improve your mobile photography.
Here are some things to consider playing with in your settings:
- Turning on and off “Grid Lines” for composition and framing
- Turn on “View Outside the Frame” for better composing
- “Prioritize Faster Shooting” if you prefer to capture subjects at high speeds
- “Lens Correction” for correcting distortions (especially with the ultra-wide feature)
- “Smart HRD” blends the best parts of multiple exposures into a single image

Composing and Taking Smartphone Landscape Photography
Now that you’ve made all the proper smartphone adjustments for landscape photography, what’s next?
Ready to elevate your mobile photography journey?
10. Choose Your Image Ratio
Before taking landscape photos with your iPhone, stop for a minute to think about your image’s final destination. Will it be shared on Instagram? Reddit? Twitter? Somewhere else?
If you know the aspect ratio (fancy term for the dimensions) of your image’s final destination, you can specifically shoot to capture in a way to minimize cropping afterward.

11. Focus and Adjust for Exposure
If you want the perfect balance of highlights and shadows, it’s important to adjust the lighting.
On iPhones, you can hold your finger and drag it up and down to adjust the brightness.
You can also opt to use HDR (High Dynamic Range) to blend the best of both highlights and shadows in one image.
12. Concentrate on Composition
Composition is probably one of the most important skills for learning how to take landscape photos with your smartphone.
There are so many things to consider, so here is a list of the most important features of composition:
- Foreground Interest
- Leading Lines – like a hiking trail or mountain range
- Straight Horizons
- Rule of Thirds
- Finding Patterns
- Finding Textures
- Looking for Unique Perspectives

13. Shoot First, Zoom in during Post Production
One of the easiest ways to diminish an image’s quality is zooming in on your phone!
Zooming in minimizes the pixels used (aka the dots that make up your image’s information).
To preserve your image quality, take the photo normally, and then crop it to your desired size in post-production. (More on that below!)

14. Wait for Sunrise or Sunset…
Some of the best lighting for smartphone landscape photography is during sunrise and sunset.
This creates the softest light and avoids those harsh shadows during the peak hours of the day.
15. Or shoot at Golden Hour/Blue Hour
There’s a reason photographers call it “Golden Hour.” The hour before sunset and hour after sunrise provides some of the softest and most golden light of the day, making it very flattering for landscape photography.
To avoid harsh shadows or bright light, try planning your photoshoot during these times of the day.

16. Expose For the Highlights
If you are trying to capture the sun or a large part of the sky in your photos, exposing the highlights will help preserve all of that image information.
What does this mean? It simply means adjusting your brightness to capture the details of the sky. You can do this on an iPhone by simply tapping on the brightest part of the image.
When you return to edit the photo later, you can go back and adjust the image which can bring up the shadows and preserve the sky!
17. Straighten the Horizon
One of the easiest ways to take cool landscape pictures is by keeping your horizon straight! Not only will your image look better, but it will save you a step in adjusting your image later.

18. Don’t Use Flash In Low Light
If you are taking smartphone landscape photography in a low light situation, (ex: in a wooded forest or late in the evening) it’s important to turn your flash off.
This is because, with a flash, you could accidentally wash out the details in the shadows! Avoid using flash to get amazing scenic photos with your smartphone.
19. Pan to Capture Movement (Panorama)
Let’s say you are at some kind of overlook – like The Vista House in the Columbia River Gorge. You may wonder how to take landscape photos with your smartphone when the scene is too big to capture with just your phone screen?
Turn your phone to “panorama mode,” start at the left side of the scene, and slowly pan right until you’ve captured the entire scene. After you’ve finished, your phone will produce a long, horizontal image that will capture the entire scene!

20. Use Burst Feature To Capture Fast Motion
Are you trying to capture a landscape scene that includes a fast-moving subject/object? To capture an object in motion, you’ll need to set your phone’s camera on burst mode.
This will allow to you capture multiple shots in a short amount of time -think 10 in just one second! From here, you can head to your photos app, review all the images, and find the pose you want to keep.

21. Turn your Phone Upside Down To Get Close To Puddles
One of the most unique ways to capture nature photography with your phone would be to get upside down!
A unique way to capture a landscape would be to use the reflection of a puddle (or in this instance, a photo of Glacier National Park’s Lake McDonald!). Turn your phone upside down to get your camera lens as close as possible to the ground, and snap away!

22. Get Low
Let’s say you are taking pictures on one of the many hiking trails in the Pacific Northwest. If you are in the mountains, chances are, there is a multitude of beautiful scenes to capture! For a different perspective, get low.
This allows you to capture foreground interest like flowers or foliage, while still capturing things like mountains or waterfalls in the background. Getting low also gives the viewer the illusion that things are taller and grander.

23. Add An Interesting Subject (Humans or Objects)
Landscapes can be beautiful by themselves, but sometimes the scene can use something a little more…like a human, animal, or building!
Adding a subject keeps the viewer’s attention, and adds an element of interest. Often, we use a human as our subject. We like to capture people on hiking trails!

24. Consider Shape, Simplicity, or Negative Space
When composing your image, consider elements like shapes, simplicity, and negative space.
Shapes draw our eye around the image – we like to use winding trails to draw our viewer’s eyes forward.
Simplicity allows one element of the image to shine, making it the star of the snow.
Negative space also draws attention to one aspect of the photo, but it can also portray size, distance, or vastness in a photo. There are all important things to consider, especially when learning how to take landscape photos with your smartphone.
How To Edit Landscape Photos On Your Smartphone
Now that you have learned how to take landscape photos on your phone, it’s time to learn how to edit them!
This can be easily done on your phone, without having to transfer any files to a computer. Here are some tips for editing landscape photos from your smartphone:

25. Convert Live Photos Into Long Exposures
Ever wonder how photographers get that dreamy waterfall look? You can get that same look with a smartphone too!
If you have an iPhone, you can turn a live image into a long exposure. Here’s how to do it:
- Turn on Live Image and snap the photo (ideally of a waterfall or some sort of motion that you want to be blurred)
- Go to Photos, find the image, and find the drop-down menu on the top left.
- Select Long Exposure, and it will convert your image!

26. Use GPS To Track Image Location (Or Not…Erase Metadata)
Forgot where you took a particular image? Chances are, your phone has that metadata stored!
Oftentimes when you review images on your phone, you can swipe up to see more details, or there should be a “more details” button available to see more if you don’t have an iPhone.
Curious what “metadata” means? It’s a set of information stored within the file of an image, which can give basic information like GPS coordinates, camera settings, and megapixels. It’s incredibly helpful to refer to this information if you want to know how or where you shot an image.
However, sometimes, this metadata can be an invasion of privacy, especially if shared online. Some people know how to extract this information, and it can be used in ways you don’t want! To remove information from your photo, swipe up on the image. From here you can adjust the date and time, and also the location.
27. Experiment With Black And White
Sometimes, your image can be enhanced by converting it to black and white. When focusing on black and white, you can direct focus to thins like texture, shadow, or even emotion. Try testing it out on different images to see if you like them better without color.
28. Add Blur or Vignettes to Direct the Focus
If you want your viewing to focus on a particular part of your image, you can add

29. Have A Backup Plan or Storage Solutions
One easy way to keep your images safe is to automatically back them up with a cloud service.
This service will store your images right away, in the off chance that your phone gets stolen or your images accidentally get deleted!
Here ar some options to back up your files:
- Apple iCloud – monthly fee depending on how much storage you need.
- Amazon Photos – free online photo storage for Prime members. (But note that is it for personal use only! Business use is paid.)
- Google Photos – Great to use if you already use other Google Suite features
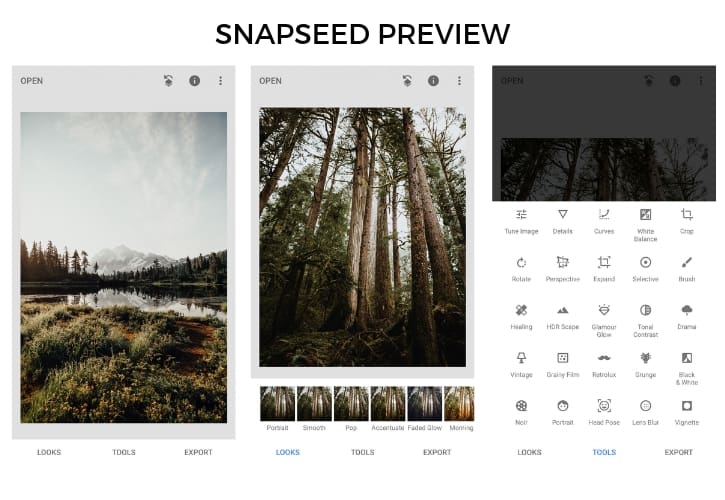
30. Use Photo Editing Apps For Quick Adjustments
Many phone have quick adjustments built into their editing feature. However, if you want a little more control, there are tons of highly rated phone editing apps out on the market. Our favorites include VSCO, Instasize, Adobe Lightroom, and Snapseed.
You might also like: 12 Incredible Photo Editing Apps For Your Smartphone
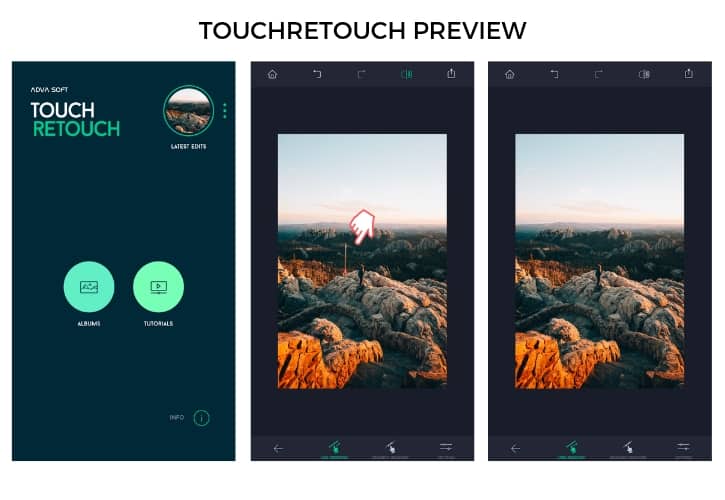
31. Use Lightroom and Photoshop to Remove Distractions
In addition to editing for quick adjustments, you can also edit to remove distractions from your photos.
We like to use the app TouchRetouch. Often, we use it to remove people from a trail, telephone lines from the sky, or roadsigns that are too bright in colors.

FAQs About Smartphone Landscape Photography
Should You Use HDR for Landscape Photos on Your Smartphone?
HDR stands for high-dynamic range. Put simply, it takes a few photos and meshes the lightest tons and darkest tones together for the most detail in a single photo.
It’s not necessary to use HDR in every setting, but rather should be used on a case-by-case basis.
How Many Megapixels is good for landscape photography?
Typically, it is recommended to have 16 MP if you are hoping to print your smartphone images in A2 size.
However, most smartphone photographers simply just share their images online. Your typical high-quality phone (generally with 12 MP) will be just fine when sharing images online.
What tips and tricks do you use when practicing smartphone landscape photography? Share them with us in the comments below!


MORE PHOTOGRAPHY POSTS
The Essential Travel Photography Gear List (What we use when we are on the job!)
The 12 Best Film Cameras For Beginners
The Best Gifts For Film Photographers
Film Preservation 101: How to Store Film Before, During, and After
12 Productive Things Photographers Can Do During Slow Season
20 Incredibly Useful Photography Accessories For Travel
20 Essential Aerial Photography Tips For Your Next Once-In-A-Lifetime Flight