The Best Glacier National Park Photography Locations (With Exact Map Directions)
Dreaming of capturing epic Glacier National Park photos?
With turquoise lakes, jagged peaks, and wildlife around every corner, Glacier National Park in Montana is one of the most photogenic national parks in the U.S.
Berty and I have visited more than five times to find the best photography spots for you! From snow covered highways to vibrant autumn colors, we’ve seen Glacier in all her seasons!
Whether you’re chasing reflections, moody mountain light, or wildlife sightings, this guide covers the best Glacier National Park photo locations, plus how to get there, when to shoot, and what camera gear to bring.
Planning your trip? Pair this with our 7-Day Glacier Itinerary and our Going-To-The-Sun Road post for permit information to plan your photo stops in advance. Finally, save our Glacier National Park Photography map to help guide you on your way!
Berty and I have been to Glacier several times in all seasons, so we know a thing or two about hidden gems and great photo locations!
In this blog post, we’ll share the best photography spots in this mesmerizing treasure of a national park.
- Getting Around Glacier National Park
- What Camera Gear To Pack For Glacier National Park
- 1. Bowman Lake
- 2. Lake McDonald
- 3. Avalanche Lake
- 4. Going-To-The-Sun Road
- 5. Big Bend
- 6. Logan Pass
- 7. Hidden Lake
- 8. The Highline Trail
- 9. Sun Point Nature Trail
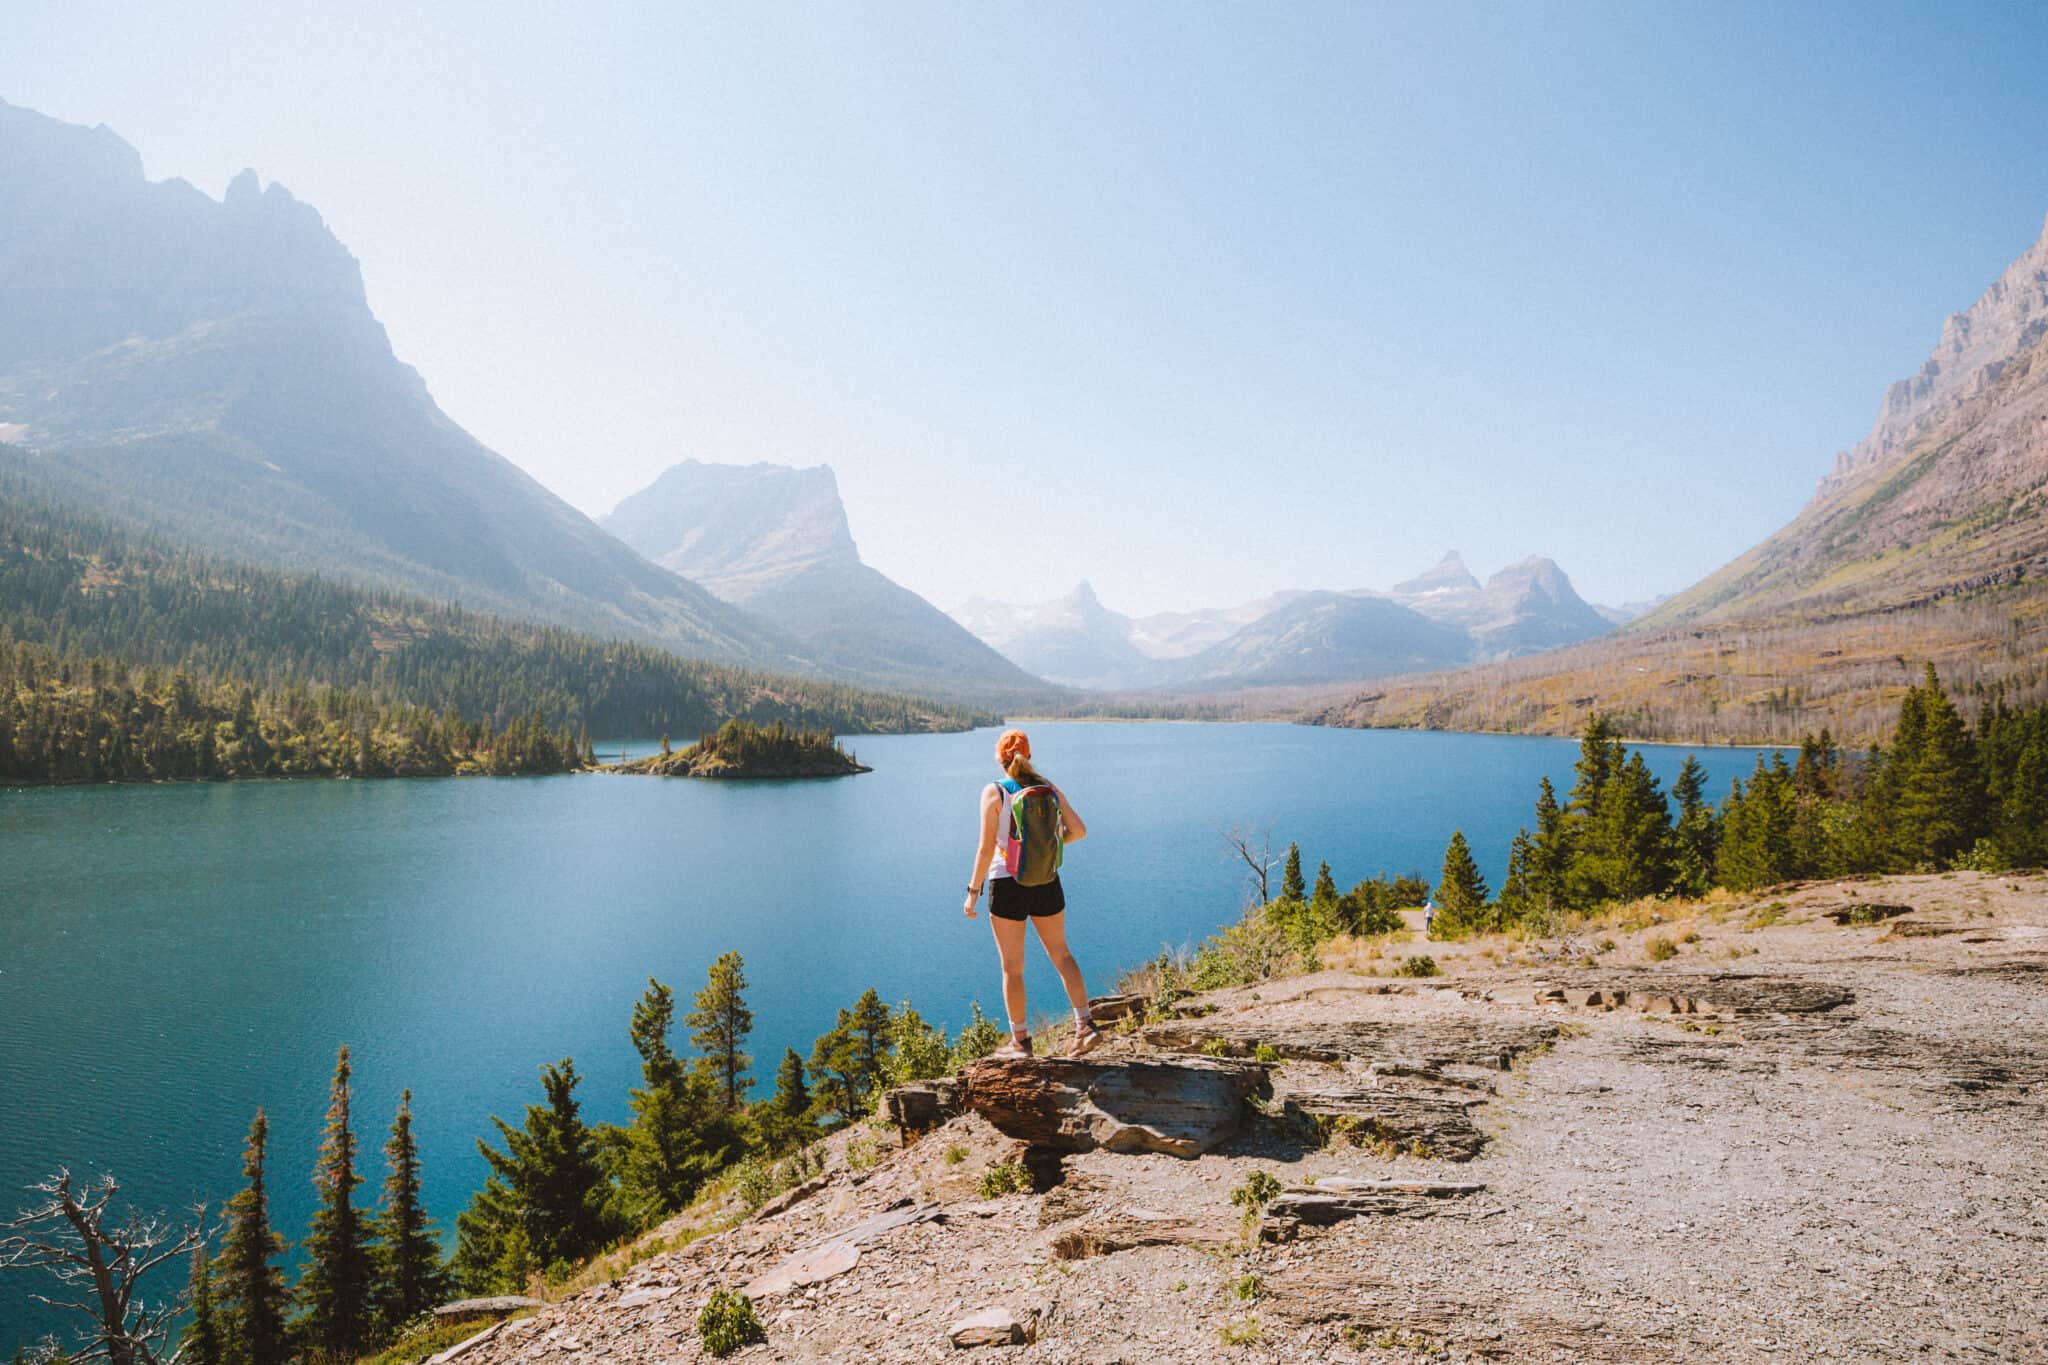
- 10. Wild Goose Island
- 11. Iceberg Lake
- 12. Swiftcurrent Lake
- 13. Lake Josephine
- 14. Many Glacier Hotel
Getting Around Glacier National Park
If you are truly here to capture unique Glacier National Park images, the easiest and most cost-effective way to travel around Glacier National Park is by car.
This is because most tour companies run on a daily schedule to fit most tourists and visitors, which are generally between the hours of 9:00 am and 5:00 pm.
Depending on the type of Glacier National Park photography you are looking to capture (i.e. early sunrise light), these restricted tour group hours may not be ideal.
We suggest driving your own car into the park. This way, you have full control of when and where you shoot Glacier photographs, from bright mid-day sun to the rare northern lights in the wee hours of the morning.
If you’re flying in to explore Glacier, check out Outdoorsy for unique and fun camper rentals. It’s like Airbnb but for RVs and campers. Just imagine yourself cruising the Going-To-The-Sun Road in a cool vintage VW Westfalia!

What Camera Gear To Pack For Glacier National Park
You don’t need a massive kit to get amazing photos in Glacier, but bringing the right essentials can take your shots to the next level.
Here’s what we always pack:
- 24–70mm lens – A versatile all-around lens perfect for both portraits and landscapes.
- 16–35mm lens – Our go-to for dramatic wide shots, lake reflections, and full-sky frames.
- Tripod – Ideal for low light, sunrise, and those crisp, slow-shutter lake reflections.
- Polarizing filter – A must for cutting glare off the water and boosting color.
Bonus tip: Even your phone will do in a pinch. The light in Glacier makes everything look epic. Don’t wait for the “perfect” gear.
The Best Glacier National Park Photography Locations
In this post, we’re going to break down our favorite Glacier National Park photography locations by areas of the park.
This will cover how to get there, our preferred times to shoot, location considerations, and lens recommendations.
Top Photo Spots In West Glacier

1. Bowman Lake
Why It’s A Great Glacier National Park Photography Location: Bowman Lake is popular Glacier National Park lake for its near-symmetrical mountains in the background, incredible sunrises, and overall peace and quiet.
This is a great spot for Glacier images if you’re looking to capture the mist coming off the water in the cool mornings, glassy water surfaces, and incredible reflections.
Best Time To Visit: The best time to visit, in our opinion, is during sunrise. This is when you will encounter the fewest visitors, and the water will be the most still of the day.
How To Get There: Bowman Lake is located in the North Fork Area of the park (the northwest corner), which is known for its much smaller crowds, solitude, and gorgeous lakes.
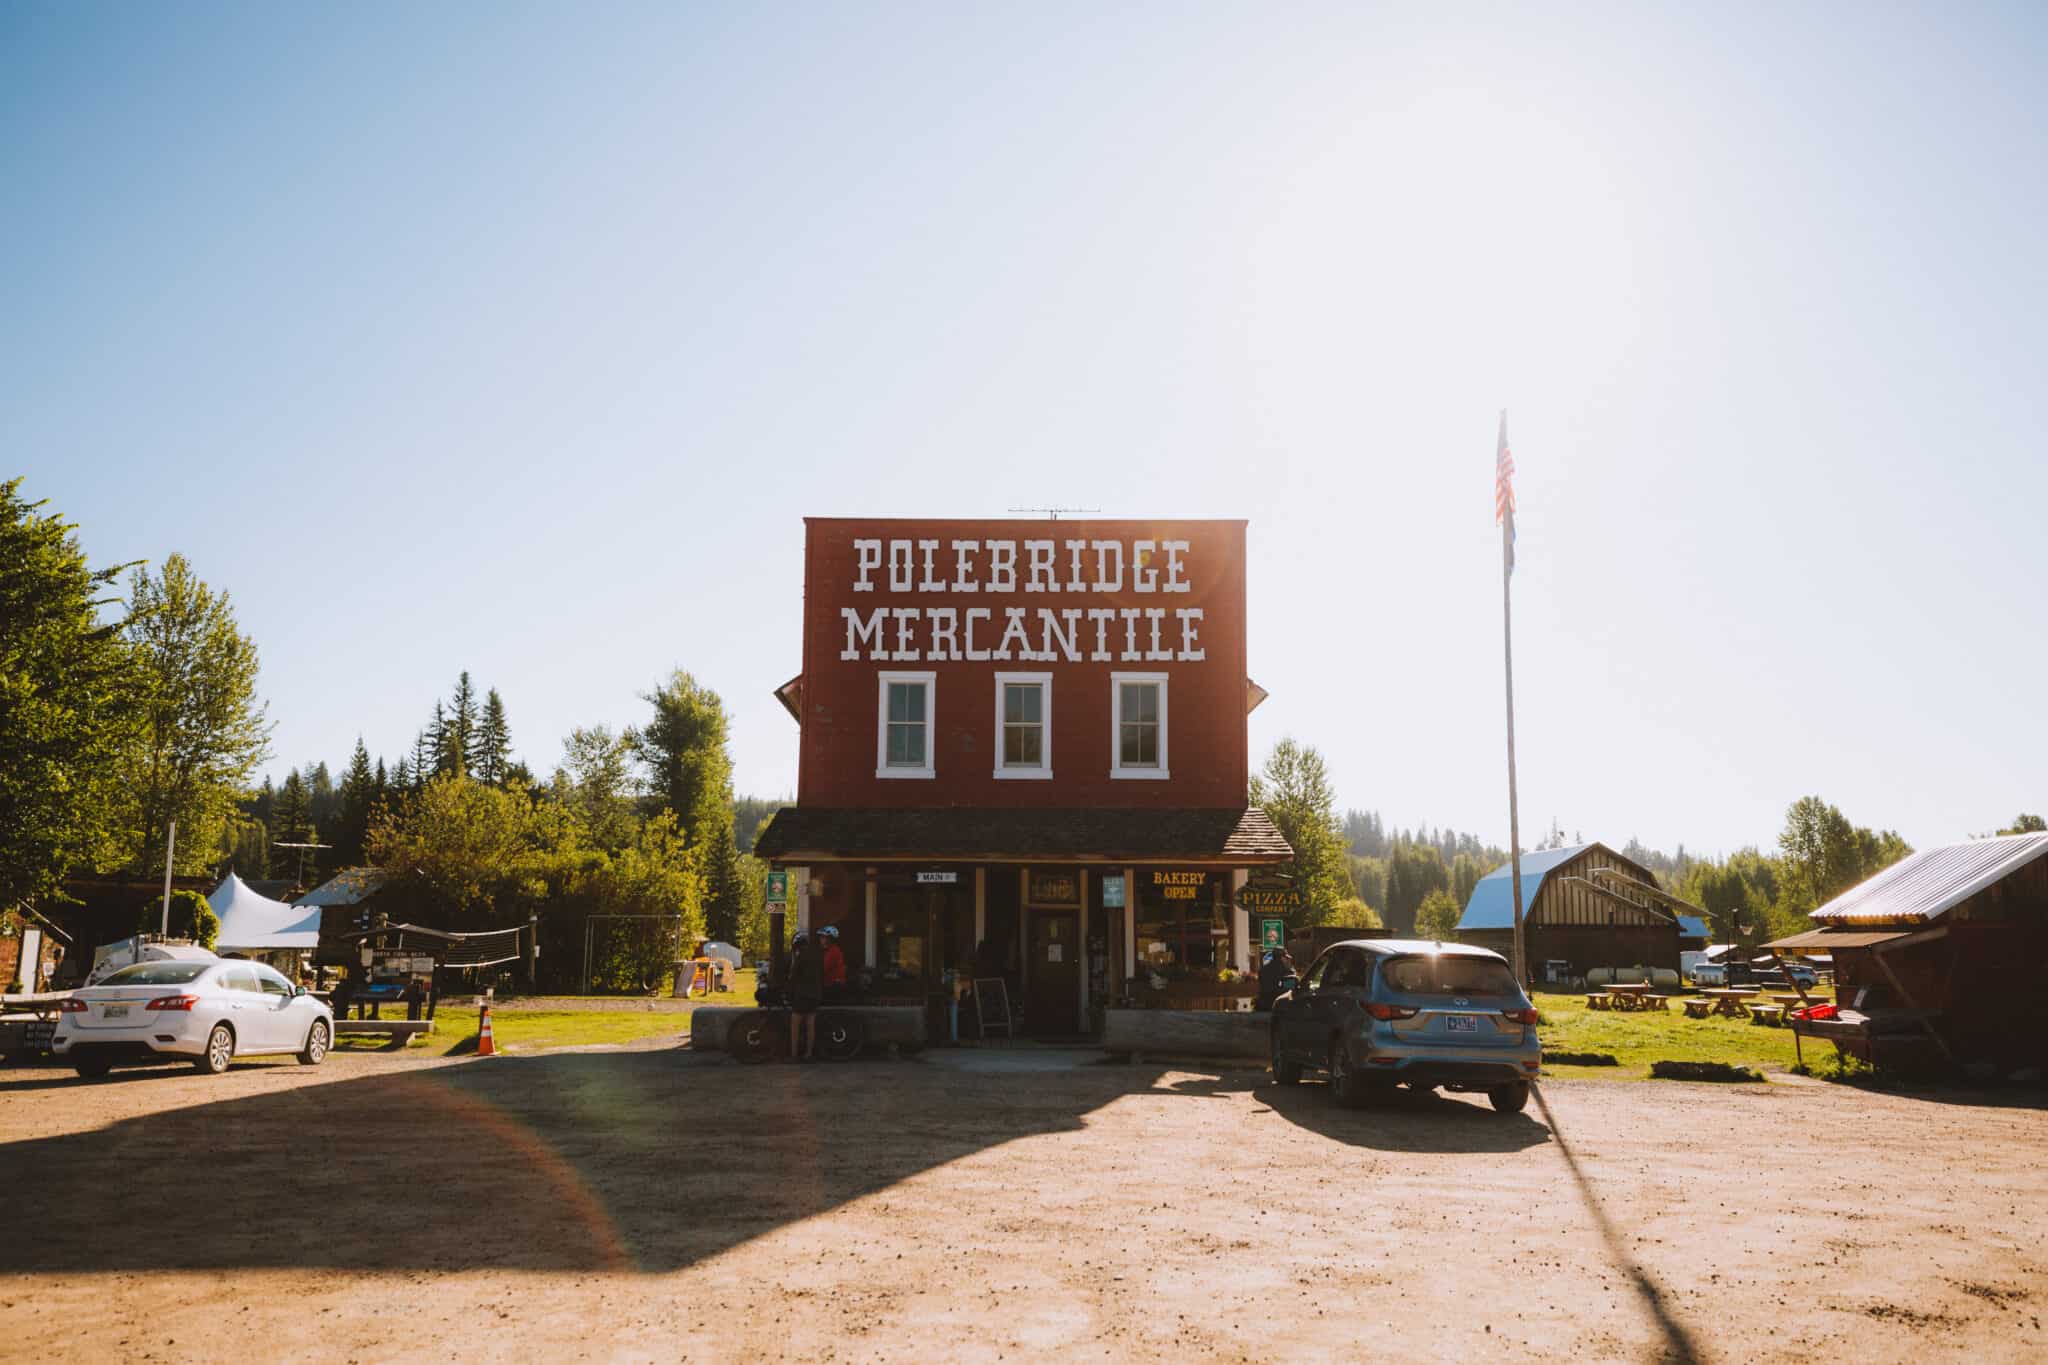
Things To Consider: Not an early riser? You can easily book a campground at the Bowman Lake Campground to shave some travel time off your early morning. This way, you can simply roll out of bed and wander to the shoreline. If you’re leaving after sunrise, make sure to stop in Polebridge, MT on your way out for some baked goods and more photo opportunities.
Bowman Lake Photo Tips: To capture the entire lake in one shot, we recommend a wide lens, like our 16-35mm. For portraits (especially in the blue hour), we recommend a fixed lens with a low aperture, to capture the fine details without the assistance of much light.

2. Lake McDonald
Why It’s A Great Glacier National Park Photo Spot: Lake McDonald is probably one of the most easily accessible lakes in all of Glacier National Park!
It’s located on the more popular West side of the park, with easy access to towns like Kalispell and Columbia Falls for basic amenities and accommodations.
Best Time To Visit: Dawn and dusk at Lake McDonald can provide still waters for amazing landscape reflections. If you are looking for more lifestyle images, consider going during the day, where you can catch plenty of canoes on the lake and people jumping off the docks!
How To Get There: From Highway 2 to the small town of West Glacier, driving north on the Going-To-The-Sun Road to Apgar.
Things To Consider: Because of the lake’s convenience, this can be a highly popular location, especially on the weekends in the summer months. If you are needing equipment (canoes, kayaks, etc), it’s best to call ahead to reserve your gear, so it’s waiting when you arrive!
Lake McDonald Photo Tips: Lake McDonald is a popular Glacier photography location, arguably the MOST popular of Glacier photo spots.
You will often see images from this crystal clear lake low to the ground, showing off the colorful rocks underneath the water and the mountains in the distance. Try stabilizing your camera on a low tripod at the edge of the water to get a clear and vibrant shot!

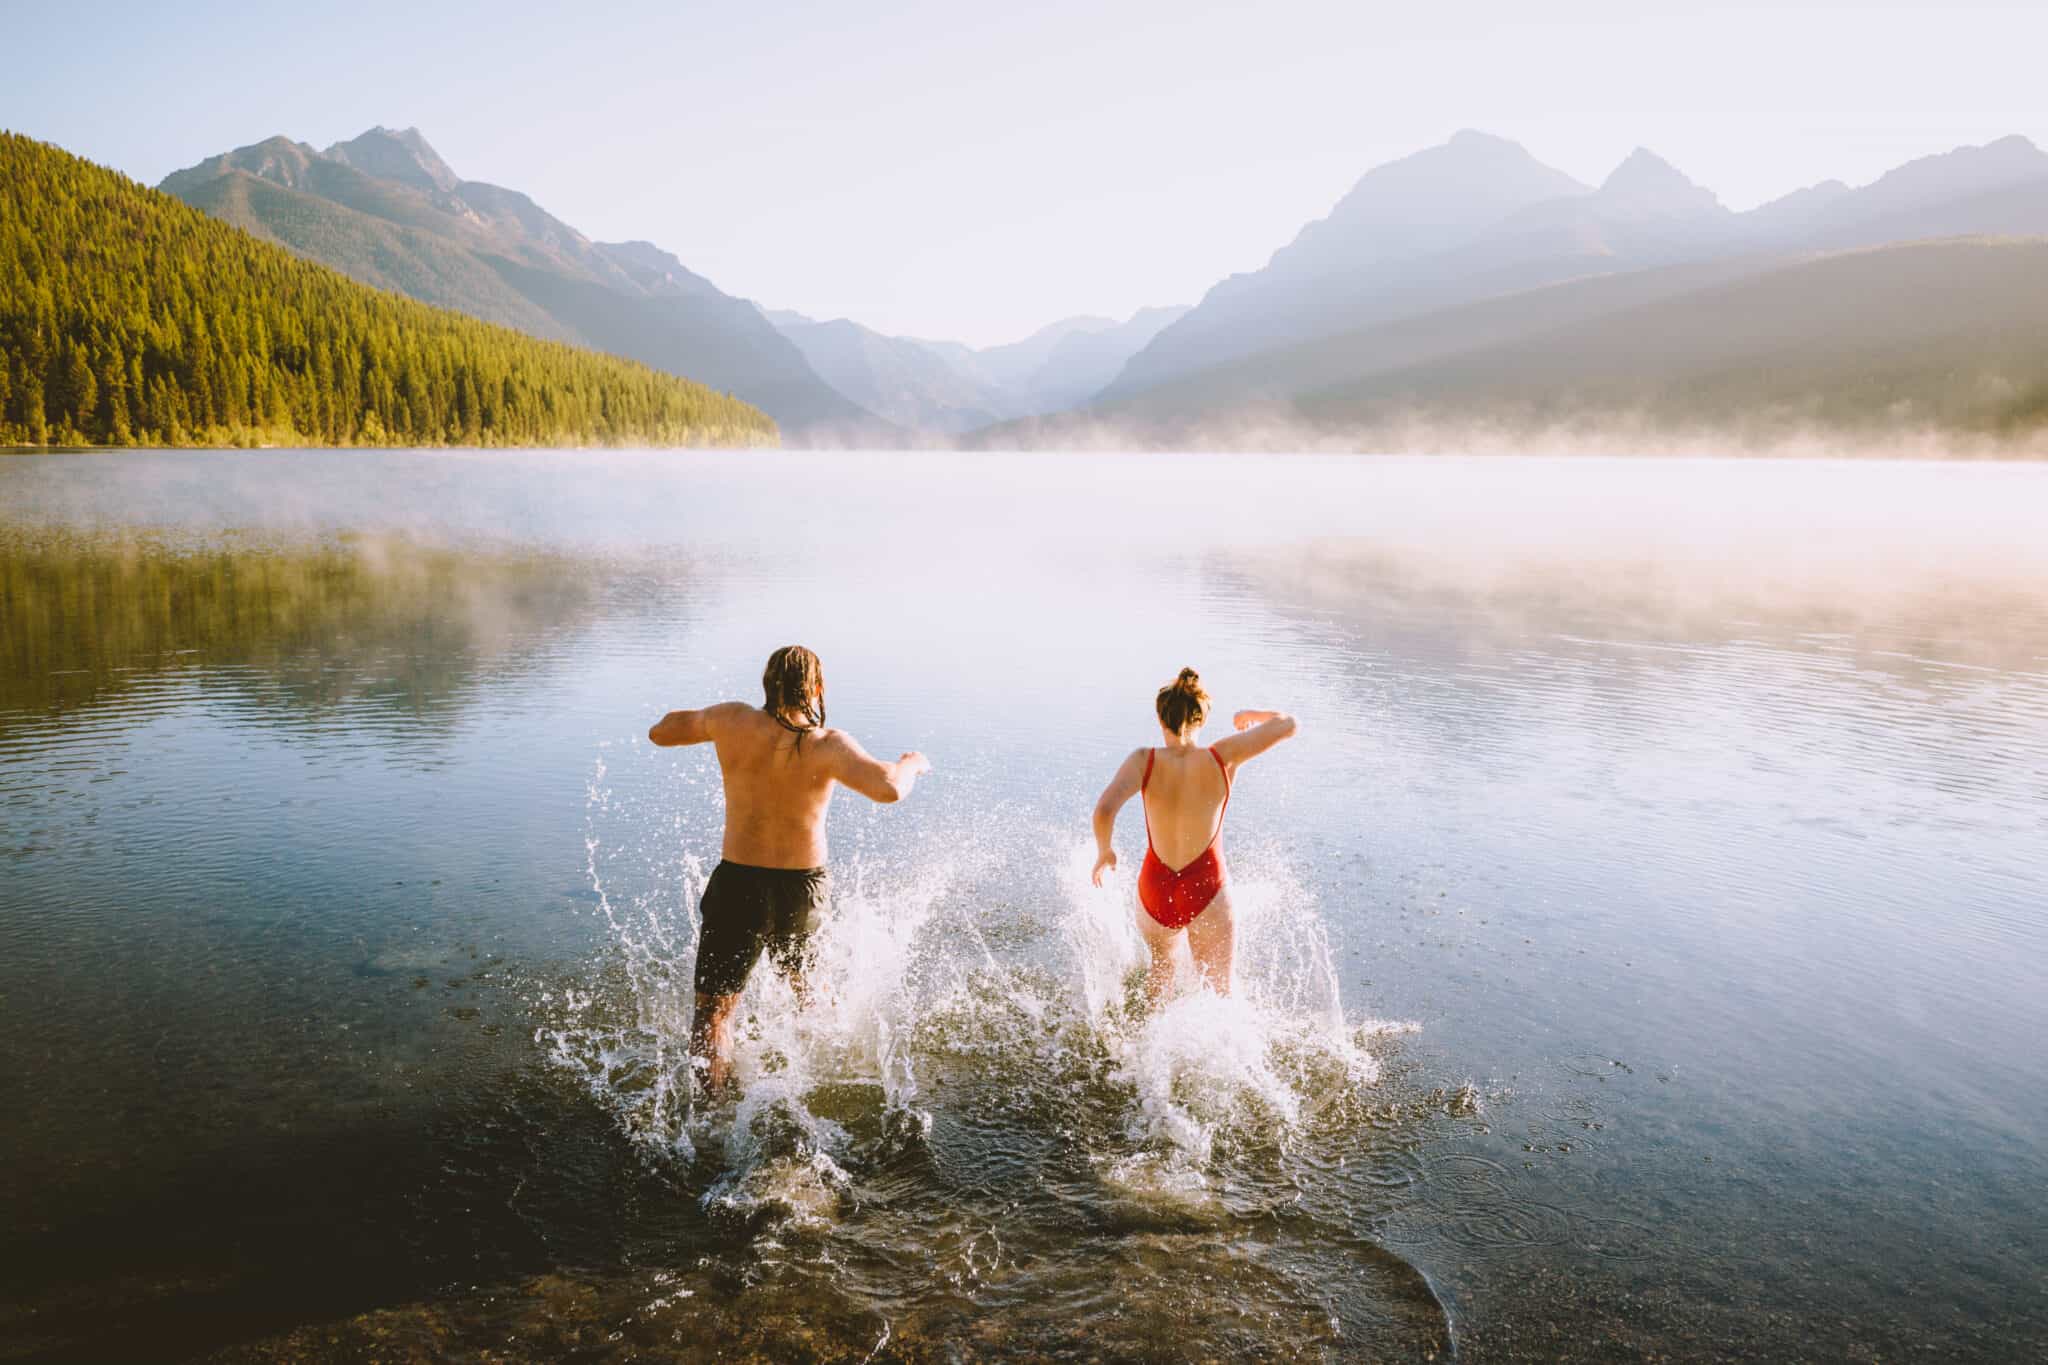
3. Avalanche Lake
Why It’s A Great Glacier National Park Photography Location: Avalanche Lake is the perfect spot for people who are looking for awesome photos, but not quite ready to trek 10 miles into the forest. The easy 4.5-mile round trip Avalance lake trail is an excellent choice
Best Time To Visit: We recommend coming early in the season (June) to witness the snowmelt waterfalls cascade from the top of Bearhat Mountain and Little Matterhorn. Keep an eye on the park road openings to determine when you are able to access the road!
How To Get There: From West Glacier, drive on the Going-To-The-Sun Road to the Avalanche Creek Picnic Area. Here, you can access both Avalanche Lake trailhead and the wheelchair accessible Trail of the Cedars.
Things To Consider: This is another really popular Glacier photography location. We had the most difficult time trying to find a parking spot here. Come early in the day (before 8:00 am) or after 5:00 pm to avoid the peak crowd times. This is true even with a permit!
Avalanche Lake Photo Tips: Avalanche Lake is another beautiful Glacier photography spot, particularly for its opportunity for reflection photos. Come early in the day when the water is most still. Finally, pack a tripod to steady your shot for a crisp image.
Epic VIews Along the Going-To-THe-Sun Road

4. Going-To-The-Sun Road
Why It’s A Great Glacier National Park Photography Location: This 50-mile stretch of highway cuts straight through the park and past some of the most epic views in the entire part. This is a great way to capture photos if you’ve got only one day in Glacier NP and you want to maximize the number of locations you can reach in 24 hours.
Best Time To Visit: There isn’t a bad time to visit the Going-To-The-Sun road. If you want to catch the golden hour, we suggest sticking around St Mary Lake for sunrise and catching a sunset at Big Bend or Wild Goose Island.
How To Get There: You can enter the Going-To-The-Sun road two ways. 1. the West Entrance in Apgar, Montana or 2. the East Entrance in St Mary Montana. From Kalispell, MT it will take about 30-45 minutes to reach the road.
Things To Consider: This highway gets an extreme amount of snow in the winter months. It takes snow plows months to clear the road. That being said, there is a small window that the road is open, often between mid-June and late September. Save this website to check the latest conditions for the GTTS road.
Going To The Sun Road Photo Tips: Because of the large variety of landscapes on Going-To-The-Sun Road, we suggest packing a versatile lens like a 24-70mm to capture a multitude of scenes.

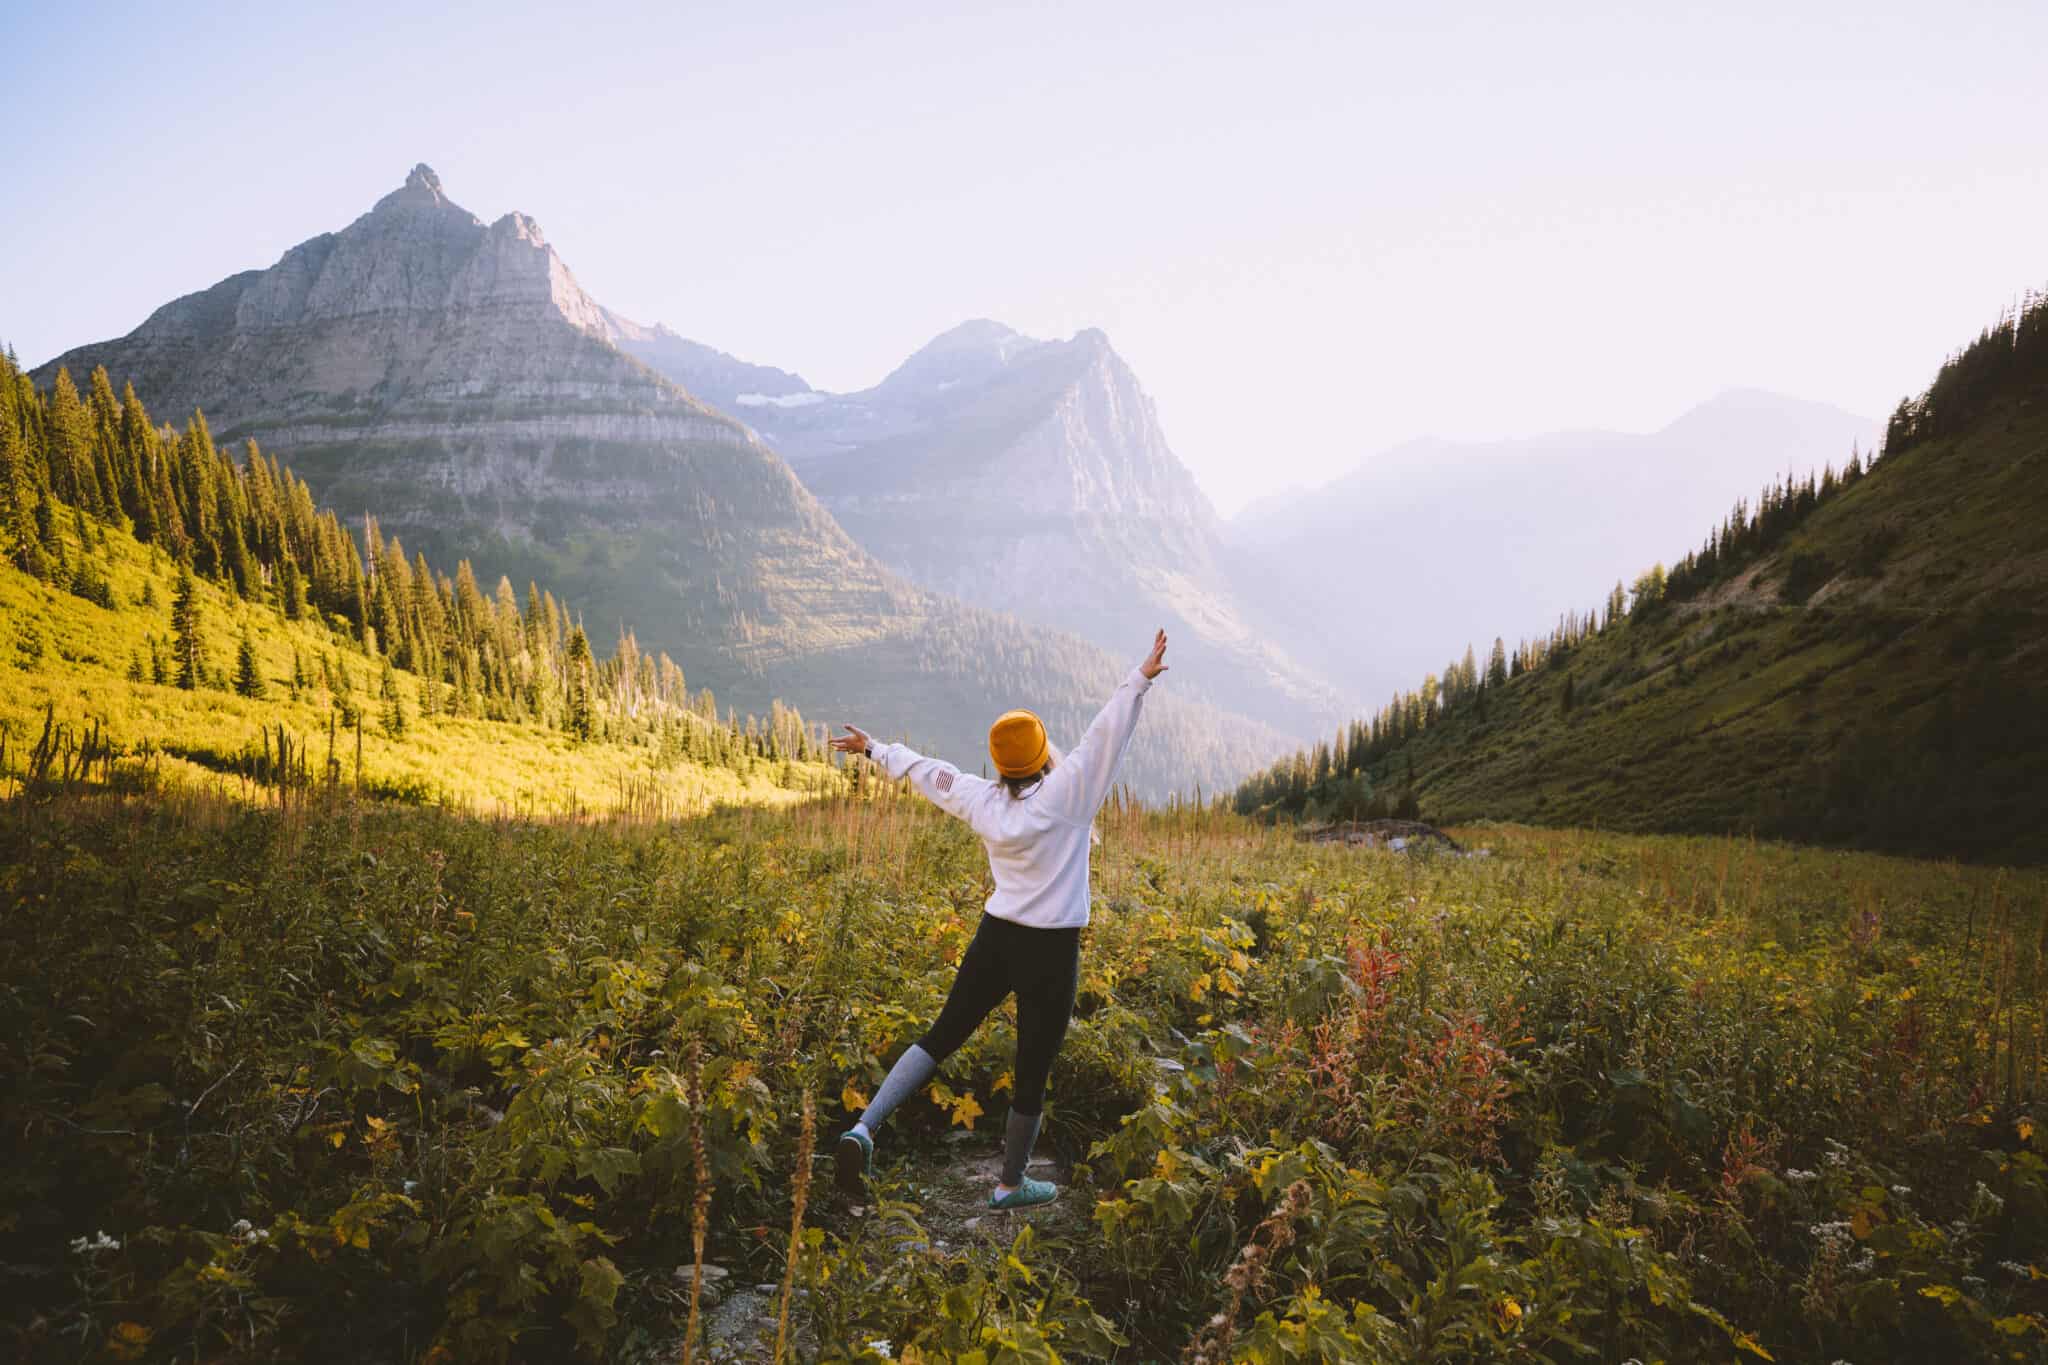
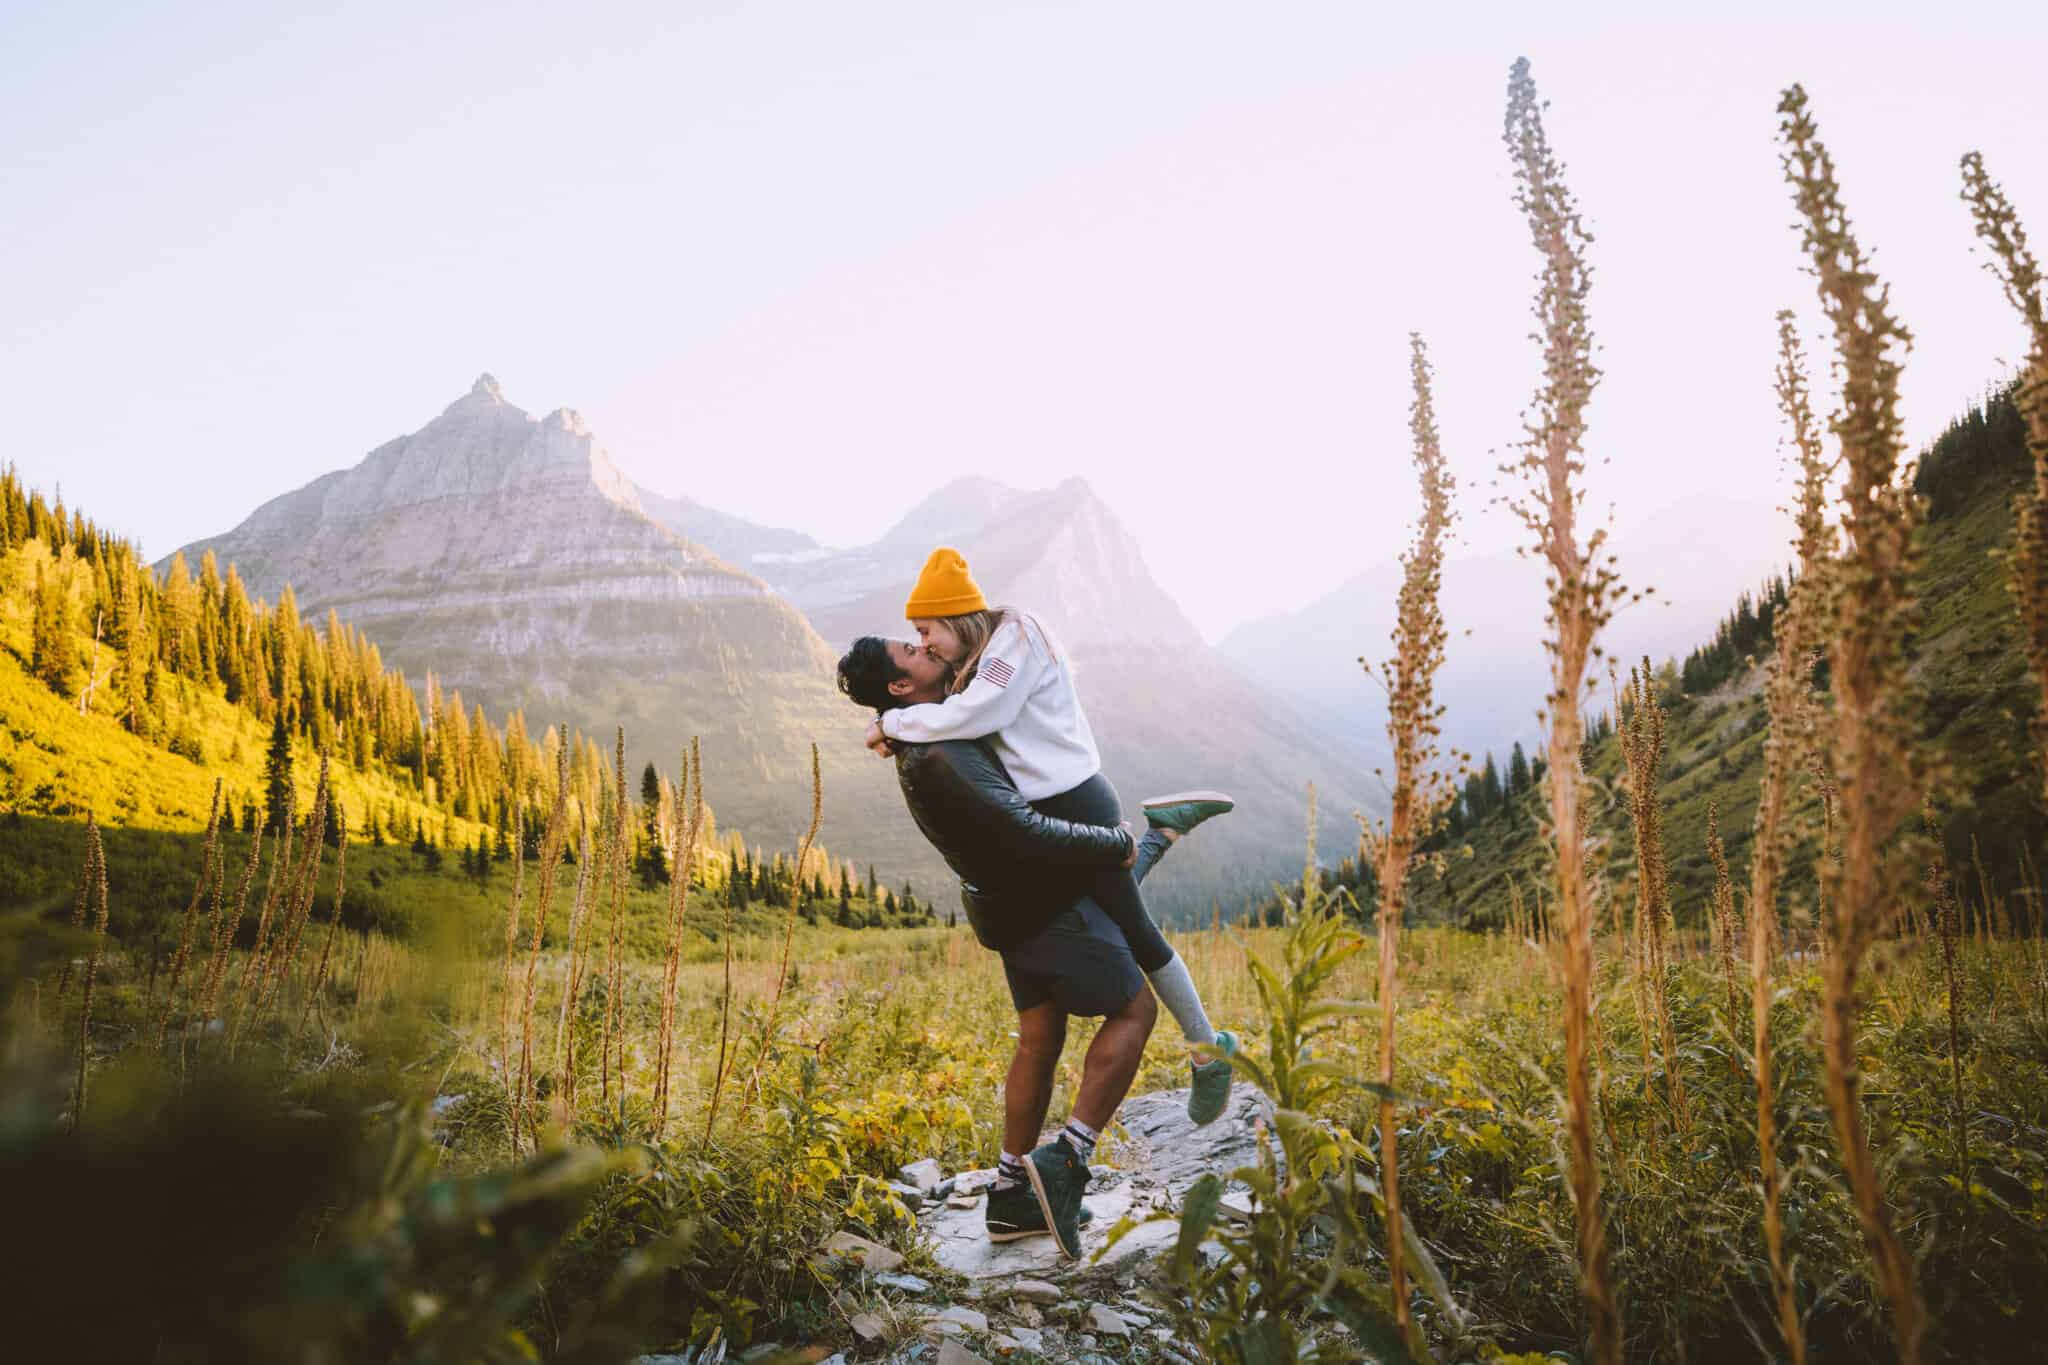
5. Big Bend
Why It’s A Great Glacier National Park Photography Location: Big Bend is one of the most popular Glacier National Park photography locations off of the Going-To-The-Sun Road. It’s iconic during sunset because the sun perfectly lights up the towering mountains. In the summertime, the valley directly below it shimmers with a warm, dreamy glow.
Best Time To Visit: Sunset is the prettiest time to visit this Glacier National Park sunset location.
How To Get There: Located on Mile 30 of the Going-To-The-Sun Road, keep an eye out for the very large pullout on the south side of the road. Coming from the west side, it’s directly following the Weeping Wall.
Things To Consider: Crowds may be an issue, so consider timing your visit during the off-season or mid-week. Additionally, stay on the trails! This valley is full of beautiful wildflowers, and we want to keep it that way! (The picture above is on-trail, just strategically hidden!)
Big Bend Photo Tips: Choose a lens with a low aperture, like a 35mm 1.4 or 50mm 1.2. The low aperture captures low-light situations beautifully, and your photos can have a cool bokeh and laser-sharp focus on portraits.

6. Logan Pass
Why It’s A Great Glacier National Park Photography Location: Logan Pass is at the highest elevation accessible by car in the entire national park. Sitting at 6,646 feet above sea level, you can expect to see alpine-adapted plants and animals and views & trailheads in all directions.
Best Time To Visit: Early morning or late evening. This is when you have the highest chance of spotting wildlife (from a distance!).
How To Get There: Take the Going To The Sun Highway from the West Entrance in Apgar or the East Entrance at St Mary to meet in the middle, at the highest point. The mile marker is Mile 32.
Things To Consider: Logan Pass acts as a central hub-area. It has several trailheads, park shuttle access, and resources for first-time visitors. It is an extremely popular central location for people to keep their cars, sometimes all day. If you are hoping to snag a spot, you need to be in the lot before 8:oo am.
Logan Pass Photo Tips: Like most places in the park, the best time to visit is early in the day or late in the evening. Bring a versatile lens like a 24-70mm or 70-20mm, to capture everything from the wildflowers, wide boardwalks, and expansive views.


7. Hidden Lake
Why It’s A Great Glacier National Park Photography Location: Hidden Lake is arguably one of the most popular places to visit in Glacier National Park, especially in the Logan Pass Area. It’s one of our favorite photo spots in Glacier National Park.
Best Time To Visit: Early morning and late evening (Seeing a trend here?)
How To Get There: Park in the Logan Pass Visitor Center Parking Lot. From there, take the 2.7-mile out and back trail that begins behind the Visitors Center. The trail is a series of easy to follow boardwalks and wide dirt trails.
Things To Consider: It’s a short trail from the largest parking lot in the park. Therefore it sees a lot of traffic during the day. Come early to snag a spot!
Hidden Lake Photo Tips: Mountain goats, pikas, and other alpine wildlife are commonly spotted here, so come prepared with the right camera gear! Bring a long lens like this 70-200mm and wait a while to catch one grazing in the flower fields for an afternoon snack. You won’t regret it!


8. The Highline Trail
Why It’s A Great Glacier National Park Photography Location: If you are looking for ONE hike to encompass as much Glacier National Park beauty as possible, you’ve got it right here on the Highline Trail. Panoramic views, alpine foliage & wildlife sightings, and a all-day adventure are waiting for you just on the trail.
Best Time To Visit: Start the trail early in the day, so you can get back when it’s still light outside.
How To Get There: Park at the Logan Pass Visitors Center for easy access to the trailhead.
Things To Consider: If you choose to take the entire 11.8-mile loop, start at Logan Pass and end at “The Loop” trailhead. This will take you past the Granite Park Chalet, Grinnell Glacier Overlook, and views of the surrounding mountains.
Highline Trail Photo Tips: The Highline Trail is one of the best photo spots in Glacier National Park! Where else in the park can you peer down into a beautiful valley, walk along the edge of a cliff, and witness iconic views like glaciers, huts, and wildlife in one place? Come with a versatile lens like a 24-70mm, and
St Mary Area
9. Sun Point Nature Trail
Why It’s A Great Glacier National Park Photography Location: The Sun Point Nature Trail and the connecting trails to Baring Falls, St Mary Falls, and Sunrift Gorge provide plenty of Glacier National Park photography opportunities. Here, there are countless lookouts along the lake with incredible views of the mountains just on the other side.
Best Time To Visit: During the middle of the day!
Things To Consider: This is a popular area for families, because there is a network of several smaller trails. However, a wildfire ripped through this area as recently as 2014. Be prepared – you’ll capture scenes with bare trees, but that comes with its own beauty as well. The bare trees bring forth the mountains in the background, making for some interesting Glacier National Park photo opportunities.
St Mary Area Photo Tips: If you’re shooting 35mm color film, come with a film stock that can handle a lower ISO. This would be film like Ektar 100 or Portra 160.

10. Wild Goose Island
Why It’s Great: This tiny, tree-topped island is one of the most iconic and photographed spots in all of Glacier National Park. For starters, it’s easy to find, and even easier to photograph! Sitting in the middle of St. Mary Lake with towering peaks behind it, Wild Goose Island creates a dreamy focal point that looks like something straight out of an Ansel Adams landscape photo.
Best Time To Visit: Visit during sunrise and sunset. Morning brings the softest light with calm waters, while sunset offers glowing skies behind the mountains.
How To Get There: Head east on the Going-To-The-Sun Road from Apgar, almost to the St. Mary entrance on the other side. Look for a small, marked turnout with a short paved path to the overlook, it’s about 6.5 miles west of the St. Mary Visitor Center.
Things To Consider: Parking is limited to “pullover” parking, so it’s best to arrive early or wait until after most of the day traffic has cleared. Bring a telephoto lens if you want to really zoom in on the island with the mountains in the background.
Wild Goose Island Photo Tips: Shoot from the far edge of the viewing area to align the island perfectly between the peaks. We love using a 70-200mm lens here for layered mountain textures, especially with the last light of day.
Incredible Gems in Many Glacier
11. Iceberg Lake

Why It’s A Great Glacier National Park Photography Location: This lake truly lives up to its name, it’s COLD. It’s not uncommon to find actual icebergs floating in the turquoise water, especially in the early summer. Surrounded by dramatic cliffs and snowfields, Iceberg Lake feels remote and rugged, offering breathtaking alpine photography opportunities.
Best Time To Visit: Mid-summer (late July to early August) to late summer is your best chance of seeing floating ice in the lake while still having relatively clear trail conditions.
How To Get There: The trailhead begins behind the Swiftcurrent Motor Inn in the Many Glacier area. It’s about a 9.7-mile round-trip hike with moderate elevation gain.
Things To Consider: This hike is on the longer side, so we recommend starting early and packing plenty of water and snacks. Bring layers too. Even in July, it can be chilly near the lake, the sun can be harsh, and mosquitos can be unbearable without sleeves. Finally, bear spray is a must!
Iceberg Lake Photo Tips: For the best photos, use a polarizer (ND filter) to cut glare on the water and emphasize the color of the lake. A wide-angle lens (like 16–35mm) will help you capture the dramatic bowl-shaped cliffs surrounding the lake without it getting cut off in the edges of your frame.
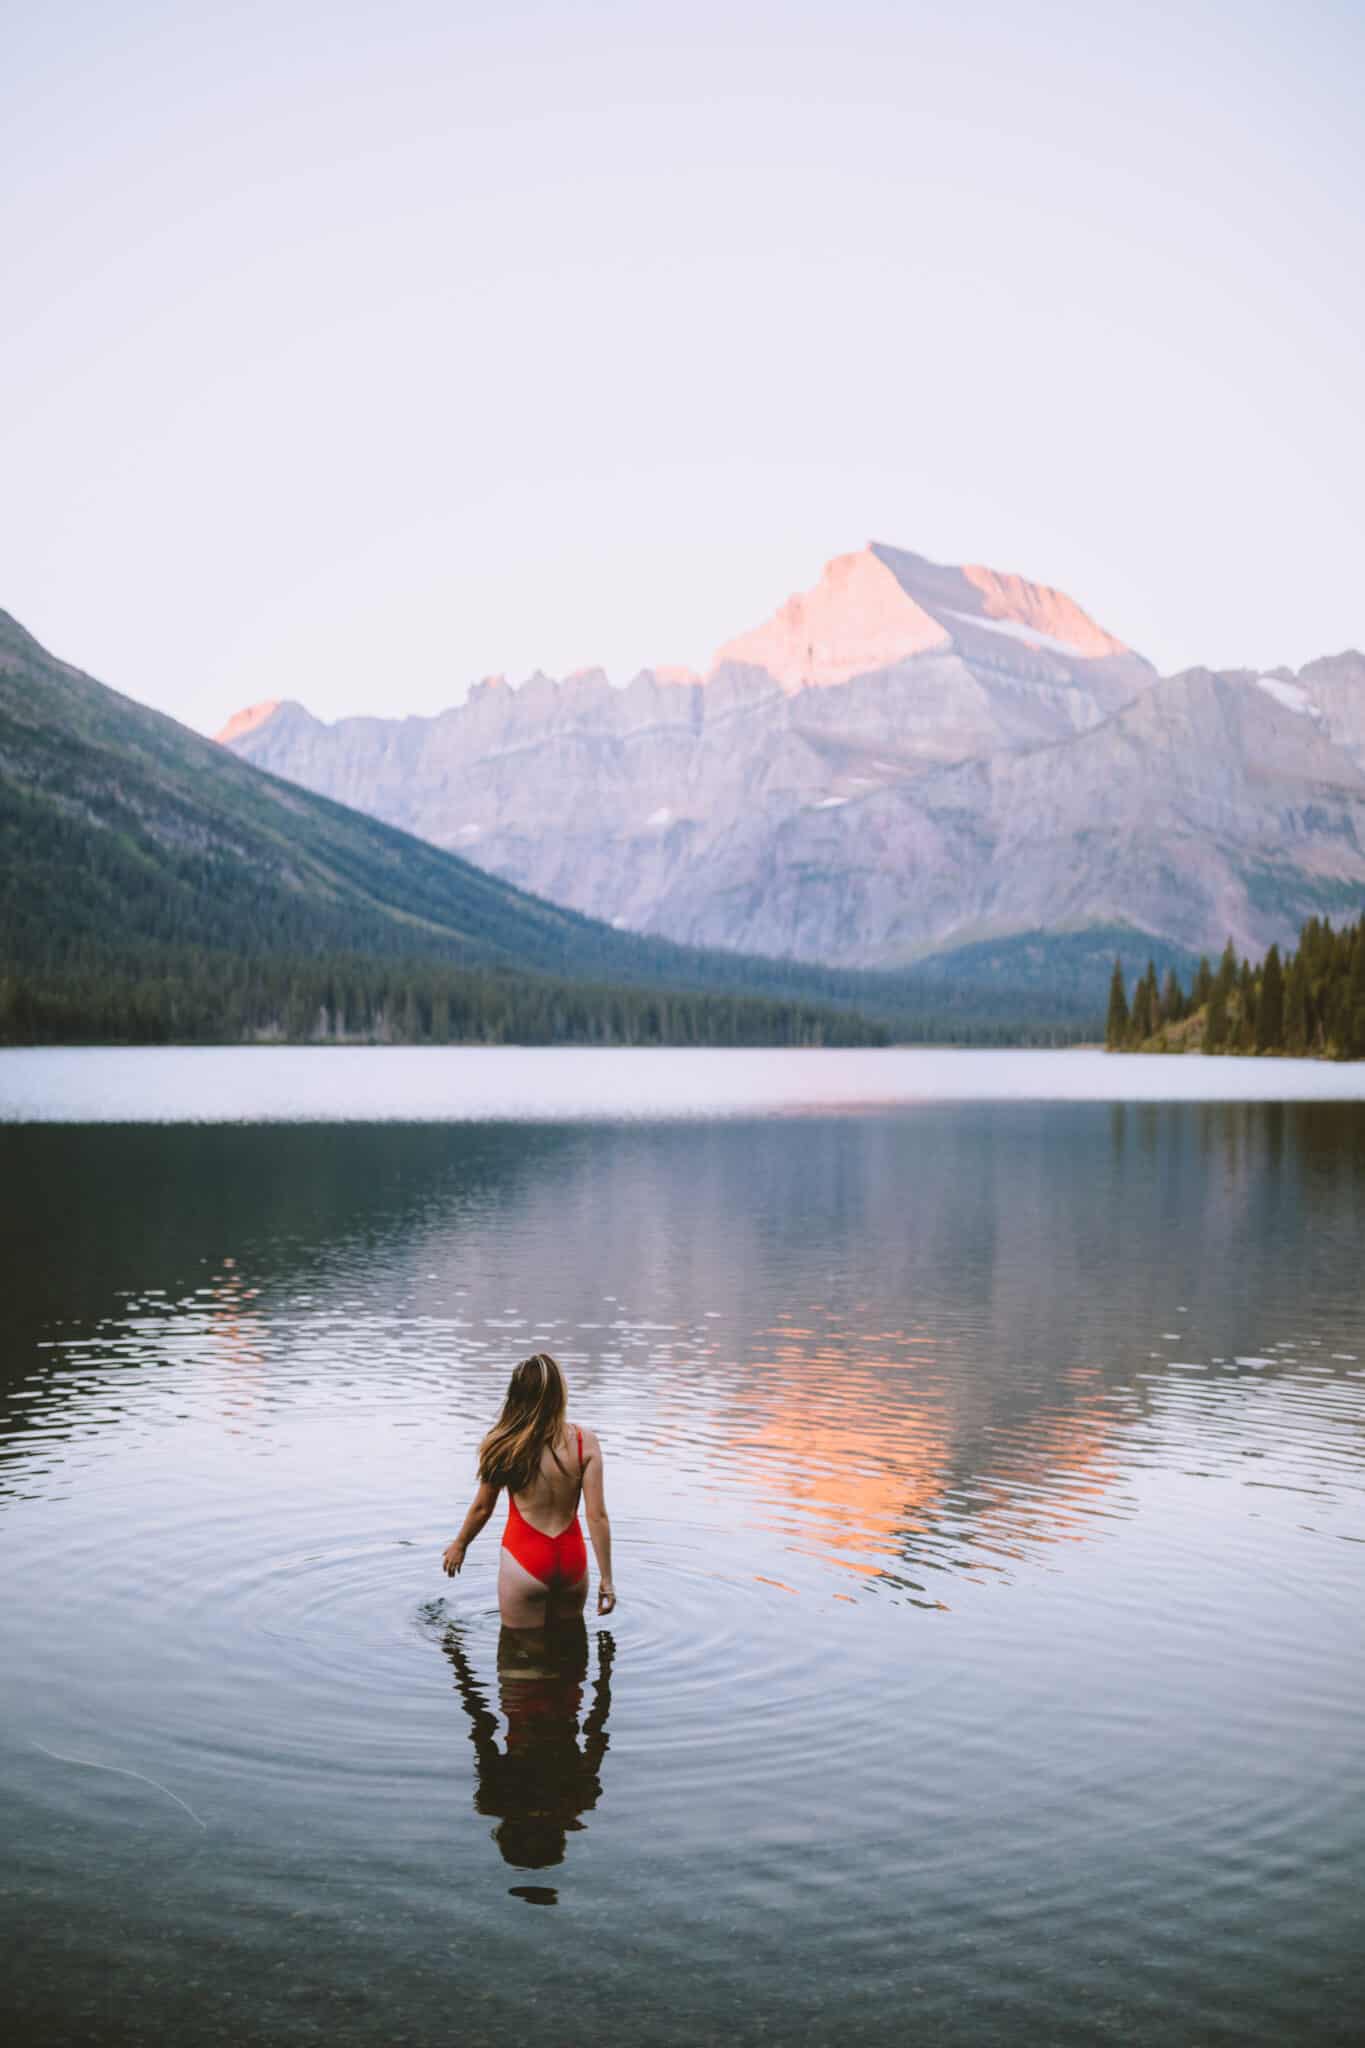
12. Swiftcurrent Lake

Why It’s Great: This stunning lake with the Many Glacier Hotel tucked on its shores offers easy access sunrise shots with mountain reflections. On a still morning, you’ll get jaw-dropping photos without straying far from your car or lodge room!
Best Time To Visit: Sunrise is phenomenal here, especially when the water is calm and mirror-like.
How To Get There: Park at the Many Glacier Hotel or the Grinnell Glacier Trailhead. There’s a short walking path that circles the lake, with plenty of access points for photos.
Things To Consider: Wildlife is often spotted around the lake early in the morning, including moose and bears. We can attest to seeing either one of these on EVERY visit to Swiftcurrent Lake. Be alert and carry bear spray. The area is also very accessible, so it’s great for a more relaxed shoot.
Swiftcurrent Lake Photo Tips: Want to smooth the water even more? Use a tripod and ND filter for longer exposures. Don’t forget to explore different angles around the lake, the light changes rapidly here!
13. Lake Josephine
Why It’s Great: Lake Josephine is the less visited sister of Swiftcurrent Lake but just as beautiful! With towering peaks on all sides and stunning alpine water, it offers an ideal location for peaceful landscape shots.
Best Time To Visit: Early morning offers great light without heavy foot traffic. Often, you’ll see the shuttle boat docked near shore before it takes passengers across the lake during the day. This is a perfect time to capture it in the beautiful morning light.
How To Get There: Park at the Many Glacier Hotel and hike 1.5 miles to reach Lake Josephine. You’ll pass through a short forested trail, but watch out for wildlife! They like to hang out around here.
Things To Consider: Bring bug spray, this is prime mosquito territory in early summer.
Lake Josephine Photo Tips: Try shooting from the southern shore looking north to capture the sweeping mountain backdrop. If you’re lucky, you’ll catch the occasional rowboat or hiker crossing the lake, perfect for adding scale to your composition.
14. Many Glacier Hotel

Why It’s A Great Glacier National Park Photography Location: This historic Swiss chalet-style hotel is as photogenic as the surrounding landscape. Nestled on the edge of Swiftcurrent Lake with panoramic mountain views, it’s an incredible subject in itself and a great vantage point for shooting the lake.
Best Time To Visit: Blue hour (just before sunrise or after sunset) casts a magical glow on the hotel. Golden hour light also warms up the stone and wood textures beautifully.
How To Get There: It’s located in the heart of the Many Glacier area. The hotel is well-marked and easy to find. Just follow signs off the Many Glacier Road.
Things To Consider: You don’t have to be a guest to enjoy the photo opportunities. The lakefront deck and common areas are open to all. However, parking can be tight during peak hours (especially on weekends), so arrive early or late.
Many Glacier Hotel Photo Tips: Frame the hotel with the lake in the foreground for a dramatic postcard-style shot. For detail shots, capture the historic architectural elements in warm light. It’s also a great base for night photography if you’re into astrophotography. It’s far from light pollution and with mountain silhouettes galore.
How Many of These Glacier National Park Photography Locations Have You Seen? Tell us in the comments!
MORE GLACIER NATIONAL PARK ADVENTURES
11 Epic Hikes in Glacier National Park
How To Find Montana’s Kootenai Falls Swinging Bridge
21 Things To Do In Bozeman Montana In The Winter
Where To Travel in The PNW Based On Astrology